
Bloodsucker
Timeline Murder Board

Timeline Murder Board
The long-awaited feature is finally complete and here to stay!
This post serves as an introduction as well as a guide on how to use it.
Here's the finished result.

(The pins and scene images have been hidden to avoid spoilers.)
A lot of planning has gone into making this feature incredibly easy to pickup but if you still find yourself puzzled then hopefully this rundown will simplify things.
(Even if you feel you already know how to use it you'll likely learn something helpful in this guide.)

^ These buttons are used to switch between chapters.
Each chapter has it's own board with a unique layout, soundtrack and background image.

This is the button used to play unlocked secens, above it is the name of the selected scene that will be played.

This is an indicator of how many pins you have unlocked as well as how many the chapter has.
If you are unfamiliar with pins they are basically stickers that appear on the board.
(Some pins may be interactable.)

This slider allows you to zoom in and out of the board, if you're on a computer you can also use the scroll wheel to do this.
Aside from zooming you can also pan around the board by hold clicking or touch swiping.
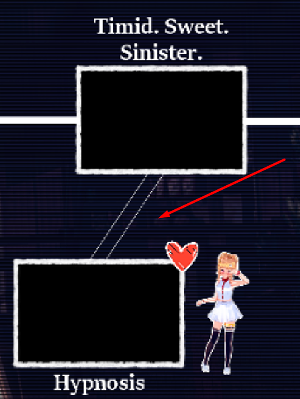
Double connecting lines mean that a scene is missable/avoidable.

This button takes you back to the start screen.

This button brings up the menu below.
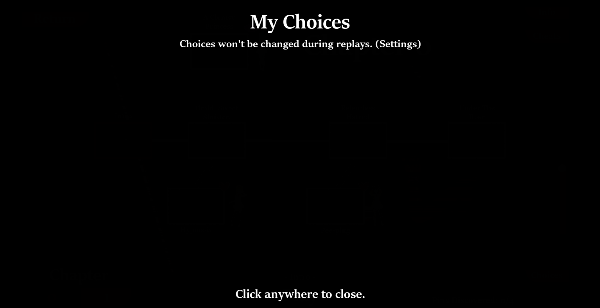
Most if not all choices you make while playing will show up on here. (Things get a little tricky here but I'll do my best to explain.)
Since the game is saving individual scenes instead of individual playthroughs you will need to manage your choices.
Example: Let's say you chose to eat an apple in Scene A.
This choice is now permanently saved, meaning even if you replay Scene A and choose not to eat the apple, Scene B will still assume you ate the apple whenever you replay it.
Scary right? Don't worry, you can change this at any time on the game tab of the settings menu.

This is disabled by default under the assumption that most people will only replay scenes to explore things they may have missed.
Once this setting is switched on then every decision you make regardless of whether you are replaying a scene or not will be permanently saved.
Easy no?

This button opens up a menu where you can enter cheat codes.
Most cheat codes are for patreon supporters only but the code LATEST will always be available to everyone.
This code lets you skip to the latest scene of every release.
If you are on PC you likely will not need to use this code as save files should be transferable between versions.
(You simply need to replace the 'playerdata' folder with the empty one in the newer version.)

This is the final thing I wanna cover on this guide, I saved this one for last because it's pretty much a guide on it's own haha.
Here's the menu this button gives you.

I don't think I need to explain this one ノ( º _ ºノ)
That covers everything! I hope you found this guide to be helpful.
If there's anything that confuses you then let me know in the comments and I'll reply as soon as I can.
One last thing!
Not everyone wanted this feature replacing the original save/load menu and a major issue with the TMB is that you lose progress if you crash or leave during a scene.
So it is with great joy that I bring you a pocket save/load menu ☜(⌒▽⌒)☞
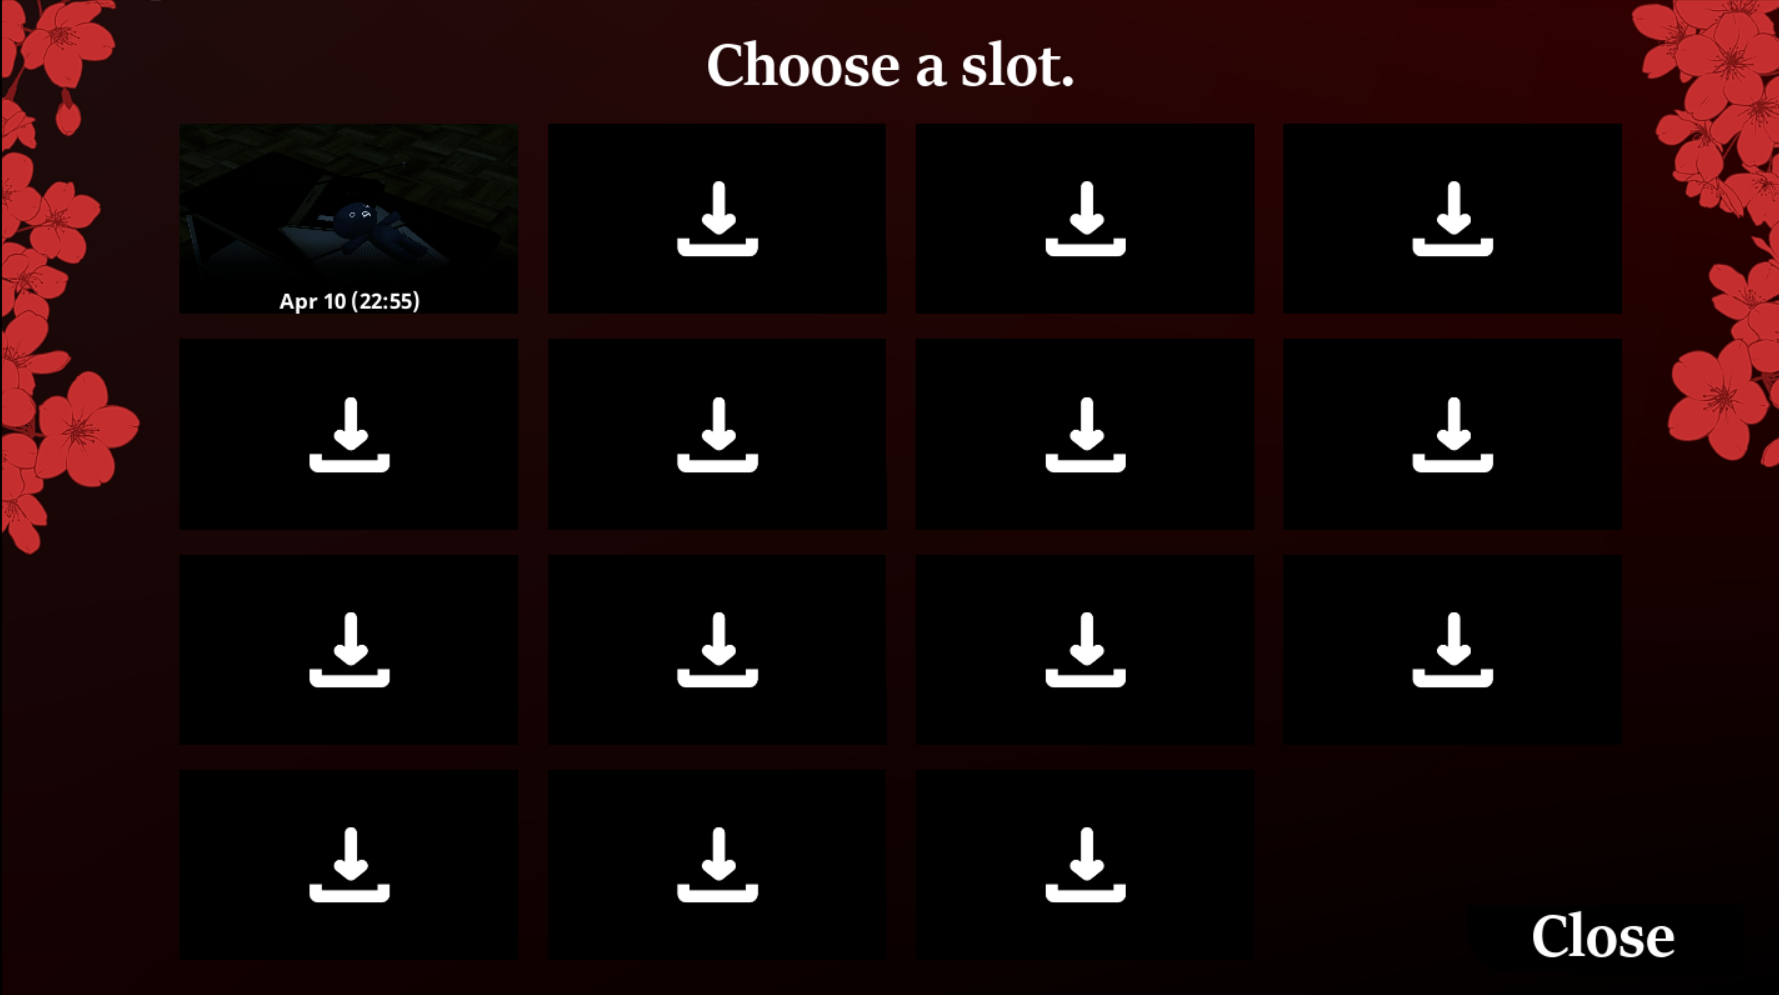
It's incredibly limited compared to the original but it does the job.
I hope this can make it up to the few of you who wanted to keep the original.
That's all.
Leave a comment
Log in with itch.io to leave a comment.